

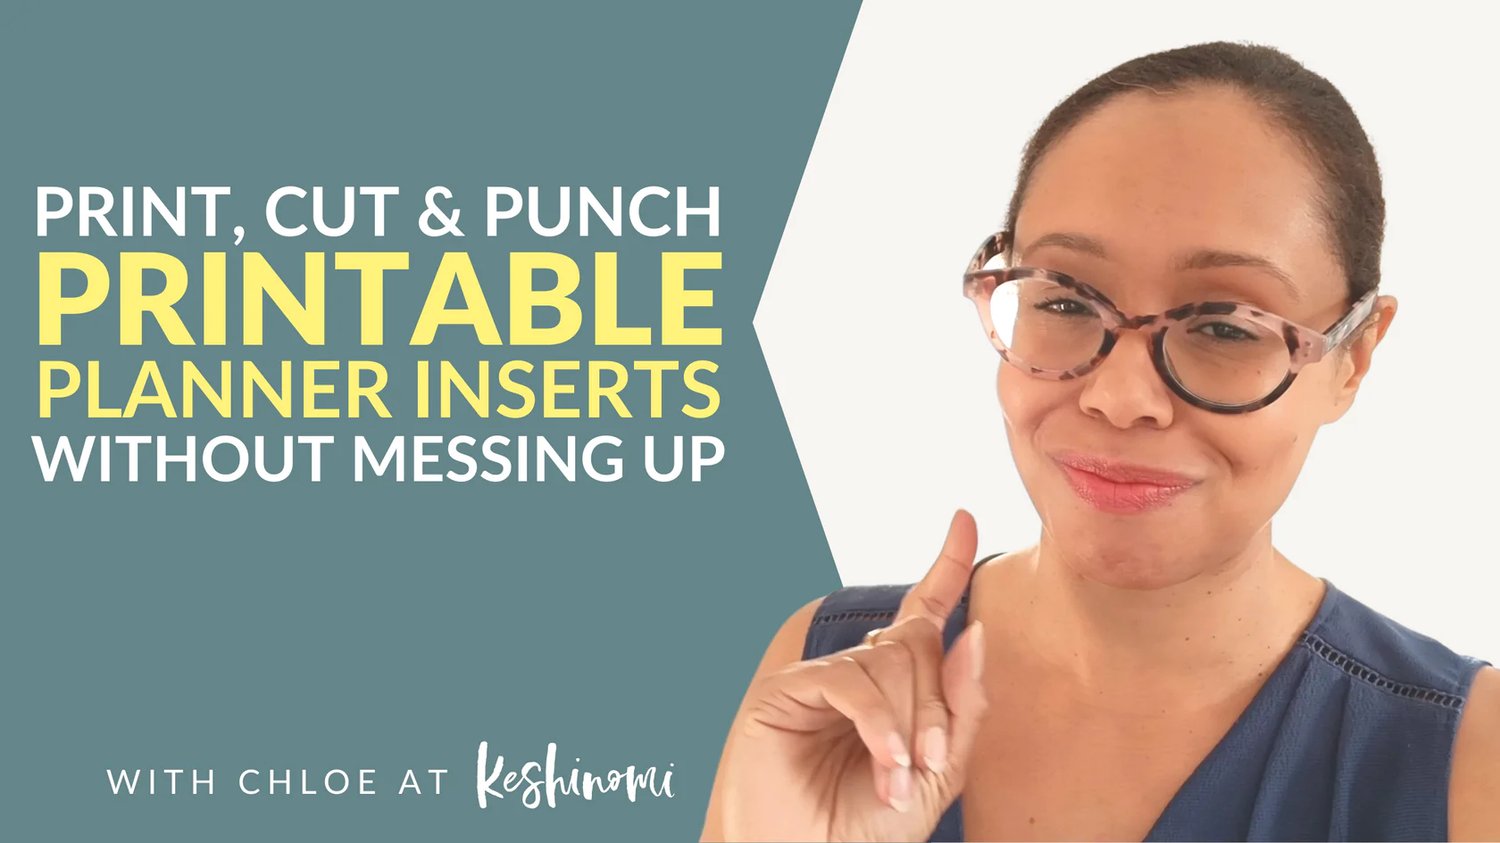
Hey Planner Fam 👋 in this video I'm sharing how I print my own planner inserts without wasting paper or messing up the trimming. I also share the essential tools I use so I get a professional looking finish.
My TOP 4 TIPS for printing planner inserts are
- Remember to set the 'Print Size and Handling' to ACTUAL SIZE in the print dialogue box and make sure you have the correct paper size selected in 'Page Setup' as well as in the 'Properties' for your printer.
- If you're printing on both sides you'll need to make sure set the flip on long/short edge correctly. Basically think of your printable like a book and ask yourself where would the spine be - that's where you'll want to assign the flip and that's also how you'll want to flip it when you pop it back in the printer.
- Additionally, when printing on both side you must remember which way the sheet came out on the print tray as you'll want to pop it back in the printer the same way plus your flip.
- When trimming printables never use a blunt or dull blade and if you're printable has cropmarks use a rotary blade trimmer so you can cut starting from the MIDDLE then trim NEARLY to the ends!
I explain it all the video above so do give it a watch or head over to YouTube if you want to save it for later!
Essential supplies for printing your own planner inserts
Here are the tools (found on Amazon UK):
- The 6 ring hole punch for A5 (as well as personal, mini, pocket, etc.) by Rapesco
- I recommend this paper trimmer by Fiskars
- I use a Canon Pixma IP8750 printer which takes 5 separate ink cartridges to use don't waste ink! But if I had to upgrade I'd choose this Epson EcoTank.
Along with Canon Top Colour paper because it's luxuriously smooth! (Also on Amazon UK)
Please note: I'm not responsible for the content at the links above, these links are affiliate links, and as an Amazon Associate I earn from qualifying purchases.
Let me know in the comments if found these tips helpful - or ask me question.
Best wishes
Chloe x
p.s. Join me for weekly productivity and planning tips made relatable for those juggling family life with building a business.
Comments ()